Building Electron Applications with Multiple Pages
If you don’t want to dive into webpack or complex build configurations, but need an easy way to use multiple pages in electron with simple navigation, this might work for you.
There are a few approaches to handling multiple pages in an electron app. Since chromium comes bundled with electron, essentially a web browser, and electron runs a node application, one approach is just to serve multiple pages as external html files. The same way you might on a web server. You can load these external pages, locally or remotely, into the current BrowserWindow via links or api calls. But results aren’t as seamless as an application. There’s a notorious screen flash that happens sometimes when the external page loads. Though mitigated somewhat with tweaks, electron is really designed for single page/cached content applications.
Multiple pages can be implemented through views, available in various frameworks with architectures for routing and templating, like Vue, React and Angular. These assemble pages by building custom objects loaded into memory. But if we don’t want to use a framework with their attendant complexities, and don’t want janky window flashing from hard links, there’s a third alternative.
Deep in the source for https://github.com/electron/electron-api-demos lies a useful approach. I decided to simplify, deconstruct and generalize it here. I’ll also integrate Bootstrap 4 to leverage its tab components to do the actual navigation. Because, lazy.
To build from scratch:
- git clone https://github.com/electron/electron-quick-start
- cd electron-quick-start
- npm install bootstrap
- npm install jquery
- npm install popper.js
- npm install
Now, in the head of index.html add:
<link
  rel="stylesheet"
  href="node_modules/bootstrap/dist/css/bootstrap.min.css"
/>
In the script section of the same index.html add:
<script>
window.$ = window.jquery = require("jquery");
window.popper = require("popper.js");
require("bootstrap");
require("./renderer.js");
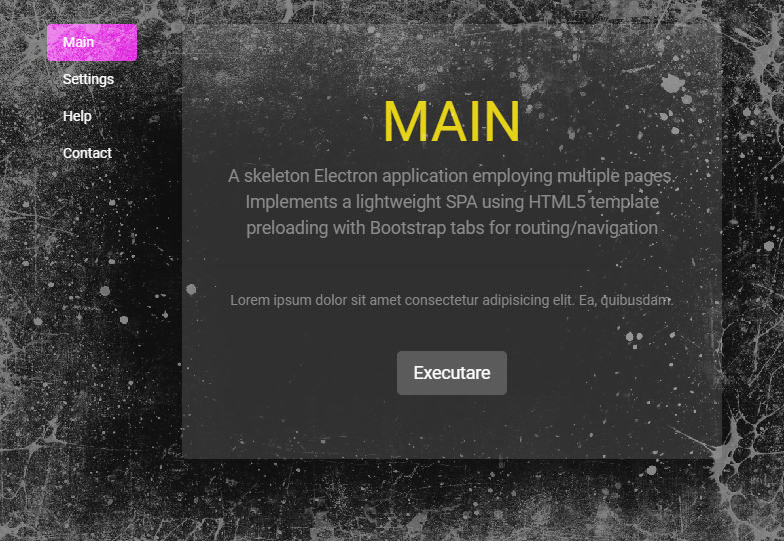
</script>Now the electron app is fully wired for bootstrap. Next we’ll create external templates for each of our pages. Here’s an example of a template for the main page created in an external file called main.html:
<template>
  <div class="container template" id="main-template" data-tab="main">
    <!-- all the stuff for the main page goes here... -->
  </div>
</template>
Create one of these files for each page in the application. Ensure that each has its own unique id and data-tab value. Next let’s go back and tweak the index.html to reference the templates. In the head section of the html:
<link rel="import" href="main.html" />
<link rel="import" href="settings.html" />
<link rel="import" href="help.html" />
<link rel="import" href="contact.html" />
for as many template pages as we created.
Next add the following to the script block in the same index.html file:
const links = document.querySelectorAll('link[rel="import"]');
links.forEach((link) => {
  let template = link.import.querySelector("template");
  let clone = document.importNode(template.content, true);
  let target = clone.querySelector(".template").dataset.tab;
  document.getElementById(target).appendChild(clone);
});
What this script fragment does is look for every import link in the head section, which it then loads and caches in memory as a document fragment and appends to an html element in the dom with an id that matches the id referenced by the data-tab in the template. Templates are a very cool, seldom utilized, feature baked into HTML5.
So all that’s left is replacing the body of index.html with the following to provide navigation and some slots and scaffolding for the pages.
<div class="container my-4">
  <div class="row">
    <div class="col-2">
      <div
        class="nav flex-column nav-pills"
        id="v-pills-tab"
        role="tablist"
        aria-orientation="vertical"
      >
        <a
          class="nav-link active"
          id="home-tab"
          data-toggle="pill"
          href="#home"
          role="tab"
          aria-controls="home"
          aria-selected="true"
          >Home</a
        >
        <a
          class="nav-link"
          id="about-tab"
          data-toggle="pill"
          href="#about"
          role="tab"
          aria-controls="about"
          aria-selected="false"
          >About</a
        >
        <a
          class="nav-link"
          id="contact-tab"
          data-toggle="pill"
          href="#contact"
          role="tab"
          aria-controls="contact"
          aria-selected="false"
          >Contact</a
        >
        <a
          class="nav-link"
          id="settings-tab"
          data-toggle="pill"
          href="#settings"
          role="tab"
          aria-controls="settings"
          aria-selected="false"
          >Settings</a
        >
      </div>
    </div>

    <div class="col-10">
      <div class="tab-content" id="v-pills-tabContent">
        <div
          class="tab-pane fade show active"
          id="home"
          role="tabpanel"
          aria-labelledby="home-tab"
        ></div>
        <div
          class="tab-pane fade"
          id="about"
          role="tabpanel"
          aria-labelledby="about-tab"
        ></div>
        <div
          class="tab-pane fade"
          id="contact"
          role="tabpanel"
          aria-labelledby="contact-tab"
        ></div>
        <div
          class="tab-pane fade"
          id="settings"
          role="tabpanel"
          aria-labelledby="settings-tab"
        ></div>
      </div>
    </div>
  </div>
</div>
Now run:
npm start
and voila. A multipage electron application using HTML5 templates and bootstrap for easy styling and navigation.
Complete source code available on https://github.com/kentskyo/spa-electron-bootstrap
(For a quickstart on electron in general, along with a solid discussion of options for packaging, updating and software certificates, I found this concise resource very well put together: https://www.learnelectron.com)